 02 9624 7099


Whenever you choose a material or finish for your home, be it tiles, glass or concrete, you should keep in mind how it’ll be installed. How long will it take? Will there be extra costs? Will you need to find tradesmen to help?
That way you can be sure you know exactly what you’re getting into before you make a decision and avoid blowing out your project’s timeline and budget. To that end, we’ve taken a closer look at the glass splashback installation process – from your initial call to the finished product and beyond.
1. Book your free consult
Not sure if a glass splashback is the right choice for your home? No worries. Book a free consult with DecoGlaze and we’ll send a consultant to your place to offer advice, answer questions and make recommendations.
With our consultant’s help, you’ll learn everything you need to know about glass splashbacks. That includes the options available, from custom prints to coloured, details of the installation process, warranties, and the benefits of choosing glass.
2. Receive a quote
If you decide you’d like a quote just let our consultant know and they’ll get a professional measurer to measure up your space for you. We’ll then get back to you with a detailed quote for the splashback – no need to go hunting for tradies, installation by trained, experienced experts is included in all our quotes.
3. Give us the go ahead
Happy with your quote? Simply reply to our quote via email or call us to book in an installation time that works for you.
While tilers and bricklayers are often booked out for five to six months in advance, we’ve got the staff to handle your requests. That means in many cases we can have your splashback installed in typically 15-20 working days after you accept our quote but can be accelerated for urgent jobs.
4. Your splashback is manufactured
We control the entire design and manufacturing process for your splashback. Using state-of-the-art equipment, we’ll cut, polish, edge and toughen your glass to ensure it lasts for decades. We’re so confident in the quality of the splashbacks we manufacture and install that we even offer up to a 10-year written guarantee backed by the National Coloured Glass Association on most of our products. In the extremely unlikely event of a fault causing your splashback to discolour or crack during the warranty period – just call us and we’ll provide a replacement free of charge.
5. Install your glass splashback
When your installation day comes around, you’ll simply need to let our technician into your home and they’ll install your splashback in as little as one hour.
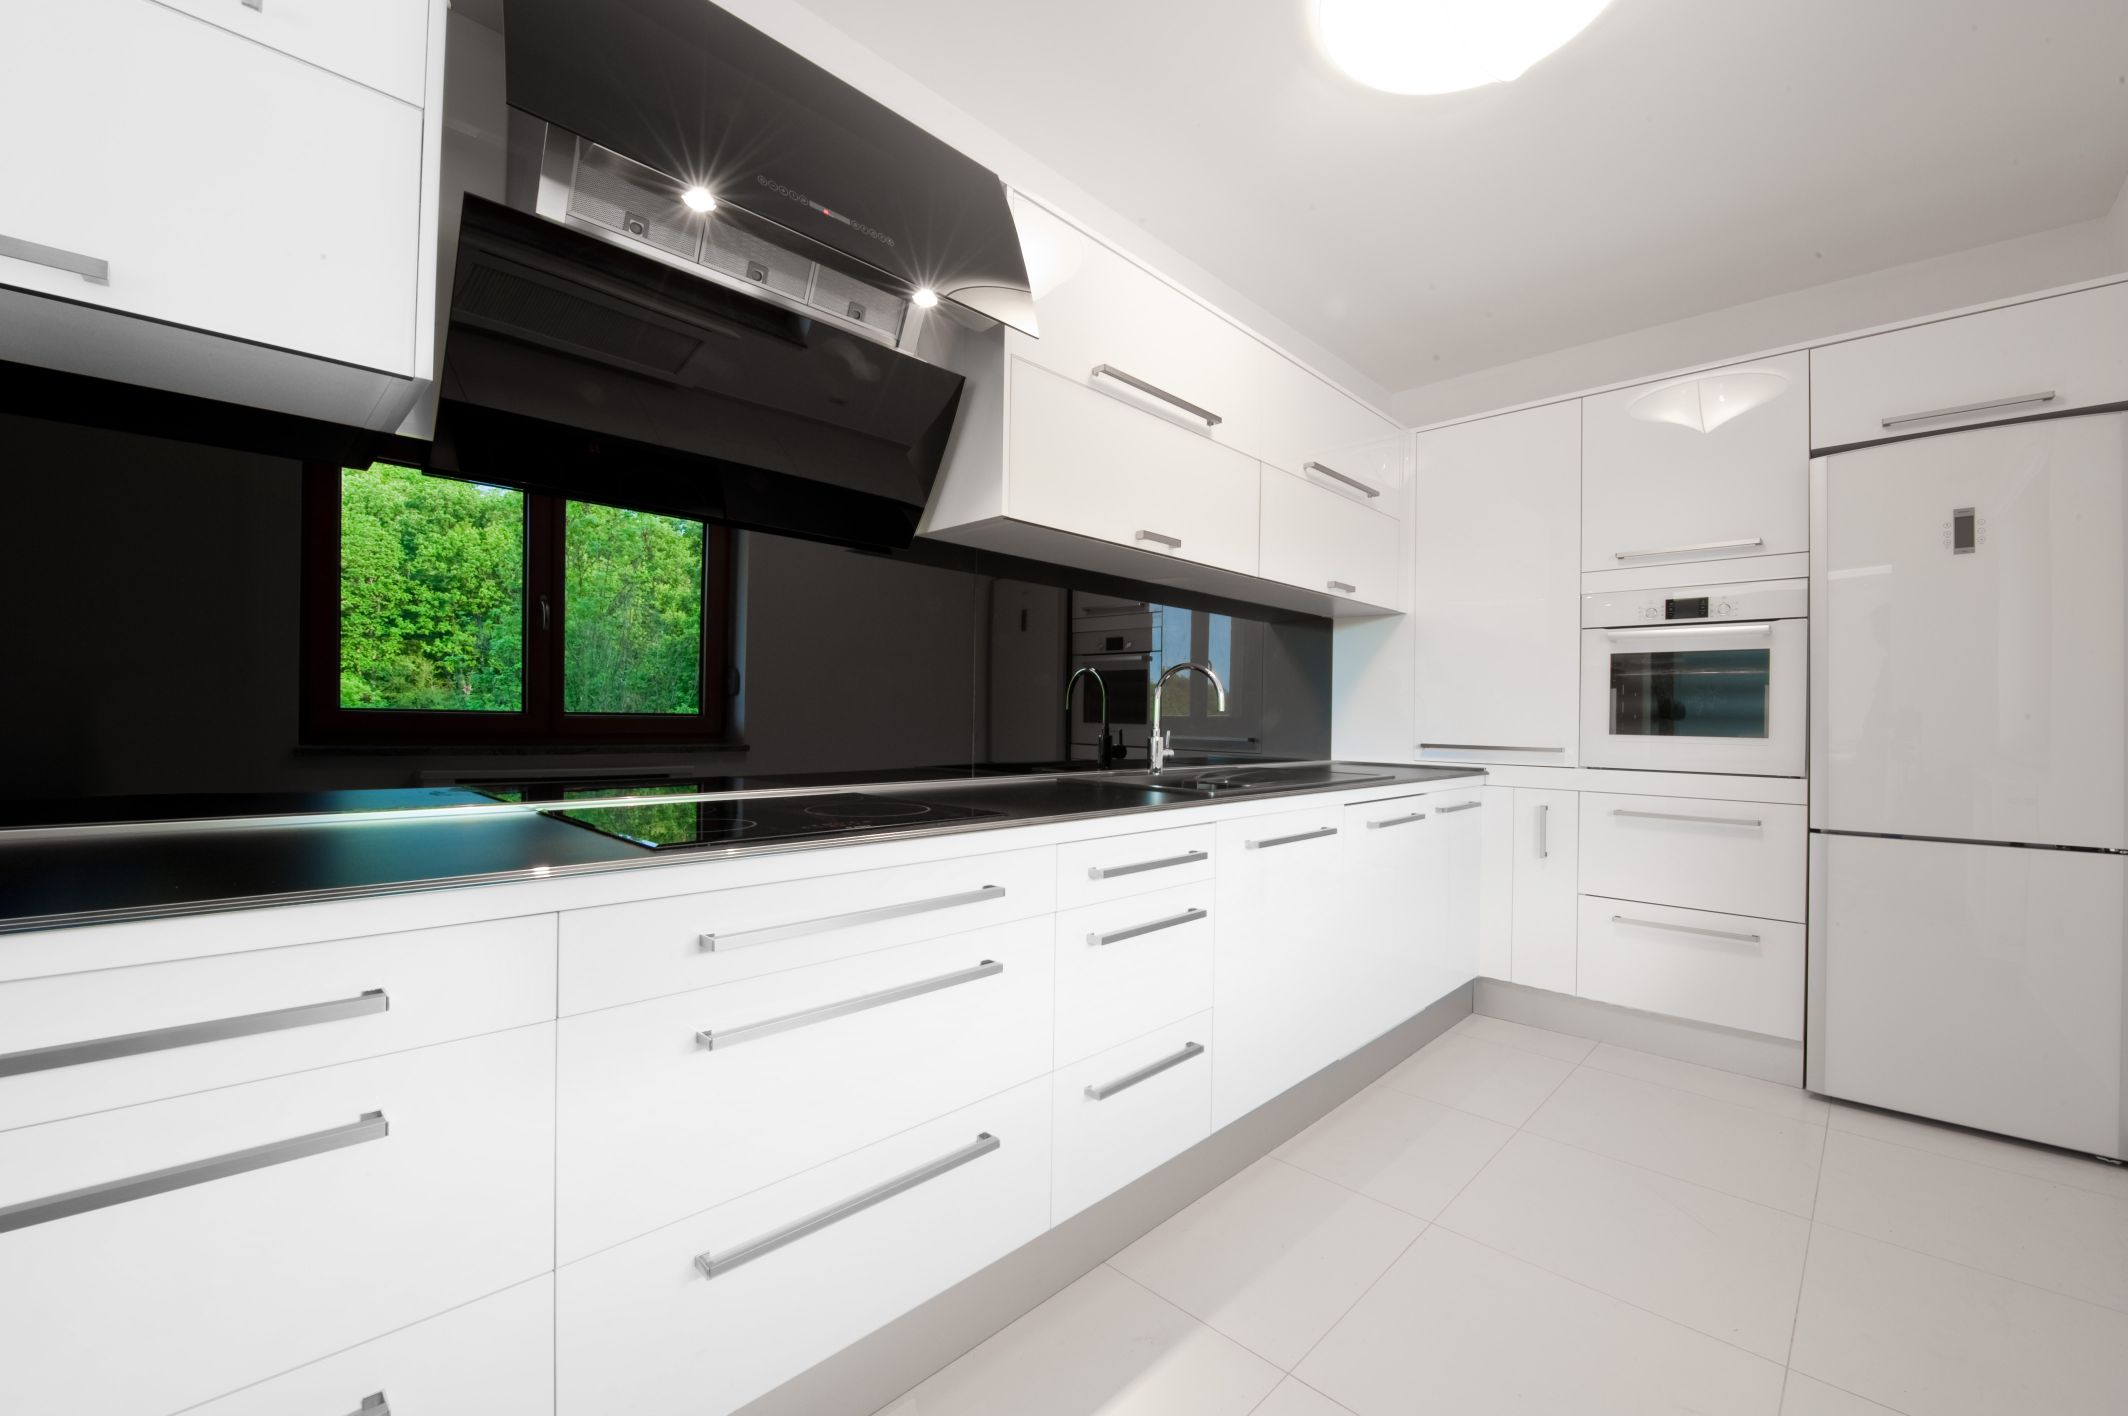
The good thing about glass splashbacks is that they can be installed very quickly almost anywhere. Unlike acrylic they’re perfect for behind gas cooktops and can also be installed over the top of existing tiles or walls for a cleaner, less messy alternative.
6. Enjoy!
All up getting a splashback installed can take 10 minutes of your time. There’s no calling around tradesmen or organising required from you, all you need to do is send an email and open your front door for our installer.
Now you’ll be free to enjoy your glass splashback for years, or even decades to come. During that time you’ll discover that it’s incredibly easy to clean, hygienic and is much easier to clean than tiles (seeing as there’s no grout lines).
You’ll also find that your glass splashback is extremely durable and can easily withstand the rigours of a busy kitchen without fading or discolouring.
Like the sound of a glass splashback?
Book a free in-home consult and find out what custom-made options will best suit your budget and decor.